What Came First, The Tomato or The Seed?
Planting Your Next Garden With Seeds.
Saving seeds from one year to plant the next is an age-old tradition, some families even pass down seeds by generation. Saving vegetable seeds can help preserve the particular variety you are growing (for example if you are growing an heirloom variety). To save seed is to participate in the process of natural selection. If you save seed only from the biggest tomato of the bunch and replant them year after year, you’ll eventually end up with seeds that produce plants on which all the tomatoes are bigger.
The same holds true for almost any other trait. Want tomatoes that ripen earlier? Save seed from the first fruits to ripen each year. Want disease resistant plants? Then definitely don’t save seed from those that are disease-infested. You don’t need to get too scientific about it, but as a rule of thumb, only save seed from your healthiest, most robust, tastiest plants.
Saving seed involves three steps: selecting seeds from the most suitable plants, harvesting them at the right time, and storing them properly until you need to sow them.
Here are some tips to help you get started:
Tomato seeds: Allow the fruits to fully ripen on the plant and scoop out the seeds and pulp. Place in a jar of water and leave for a few days, swirling them in the water daily. After a few days, the seeds should have come free from the pulp and sunk to the bottom. Pour the liquid away and rinse the seeds. Leave them to dry on a paper towel.
Pepper seeds: Harvest seeds from peppers after the fruit has fully ripened on the plant and started to wrinkle. Remove the seeds from the peppers and spread them out on paper towels to dry.
Peas and Beans:
Allow the pods to ripen on the plant until they are dry and start to turn brown. Remove the pods from the plant and spread them out on a tray indoors, to dry. Leave them for at least two weeks before shelling the pods or wait until you are ready to sow the seeds the following spring
Pumpkin Seeds: Remove the pulp and seeds from inside the pumpkin. Place this in a colander. Place the colander under running water. As the water runs over the pulp, start picking out the seeds from the pulp. Rinse them in the running water as you do. Do not let the pumpkin pulp sit in non-running water. There will be more seeds inside the pumpkin than you will ever be able to plant, so take the ones you don’t want to save and roast them in the oven with a little salt. A great snack!
Dried seed should be placed in paper envelopes or seed packets labeled with the name of the variety and the date it was harvested. To ensure longevity, keep the seed packets in a glass or plastic container in a cool dark place. Any seed stored this way should remain viable for at least a few years, though some crops may keep for a decade or more.
Time to plant! Germinating your seeds is an easy process and can be done using items from your household. For instance, instead of buying premade pots for germinating use a toilet paper roll. Cut it in half, make four cuts on the bottom and fold up like you would close a box. Fill it with potting soil, pack it down and add your seeds. Place your homemade pots in a watertight container and completely soak the paper roll. Keep it wet the whole time you are growing. Place your container in a clear plastic bag and seal it. You are creating a small greenhouse, trapping the moisture until the seeds sprout.
Once your seeds reach the top, take off the plastic bag. They will need air circulation, otherwise, the toilet paper seed pots may mold. Once the seeds have sprouted and are hardened off, these toilet paper seed pots can be placed directly into the ground and will compost away. They are especially good for planting any kind of seed that does not like to have its roots disturbed.
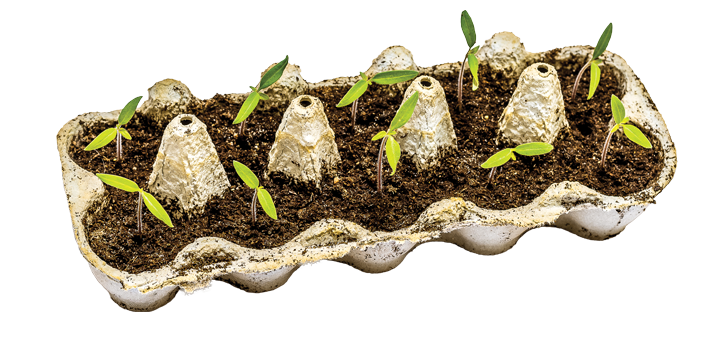
You can also start your seedlings directly into egg cartons. Add the soil and the seeds. Keep them moist and tear apart the individual sections. Of course, these can be planted directly in the ground.
You can make some fantastic biodegradable seed starter pots out of empty citrus peels, which you would have discarded anyways. Just cut a lemon, lime, or orange in half crosswise, hollow it out, drill a hole in the bottom to give extra water a way out, and fill the citrus halves with soil.
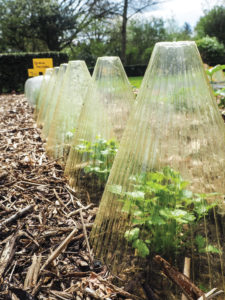
If you want to germinate your seeds outside, there are many ways to do that. Some household items are perfect for creating your own mini greenhouse.
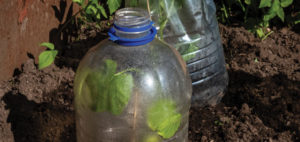
Start your seeds in a recycled (make sure it is transparent) milk jug. Simply cut the top off, fill with soil, add your seeds and some water in the bottom, and replace the top. The jug will keep humidity in while allowing plenty of indirect light to grace your little seedlings.
Upcycle a rotisserie chicken container into a mini greenhouse by poking drainage holes in the bottom and air holes in the top and filling with soil. Plant and water seeds and place the top back on. Now just sit back, and soon you’ll be enjoying the fruits of your labor!
You can really go all the way and build a full-size greenhouse in your backyard!
Greenhouses made of plastic bottles are easy to make, very cheap, and definitely a great solution to having fresh produce from your own garden all year round. The plastic bottle greenhouse has many benefits besides minimal costs. It is self-watering, as rainwater can penetrate through the gaps between the bottles, it raises the temperature by 10 degrees C, it gives you the opportunity to recycle bottles and keep them away from landfills in a very smart way, and it is super cheap to repair if ever needed.
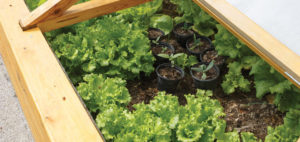
Did you impulsively buy a load of old windows at the thrift store, but now have no idea what to do with them? They are perfect for a greenhouse! A greenhouse built with old windows is remarkably economical and is a great way to repurpose items. You can even furnish it with used or recycled benches, shelves, doors, old planting containers, and other materials scavenged from throw away piles. There are plenty of places to scavenge old windows and such, check your local listings.
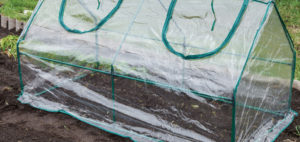
A hoop house might be the simplest type of DIY greenhouse out there. A hoop house is little more than polyethylene or plastic sheeting stretched over bent plastic or PVC tubes. Depending on how handy you are or how many plants you’re growing, you can make your hoop house as simple or as complex as you’d like. For example, the simplest option is to stretch PVC pipes across a raised bed, secure the pipes into place on each side, then drape a sheet of plastic over the top. The plastic provides a layer of protection against freezing temperatures. Because it is translucent, light is still able to seep in.
If you are handy with a hammer and nails, you might try putting together your own lean-to greenhouse. A lean-to greenhouse only has three sides. The fourth side of the structure is the wall of another building, such as your home or a garden shed. There are a few benefits to making a lean-to greenhouse structure. One big advantage of the design is that there’s less for you to build since one wall already exists. Another advantage of the design is that the wall of your home or shed provides an extra layer of insulation to keep your greenhouse warm, without needing to crank up the heat. Heat from the house or shed wall can radiate into the greenhouse at night, keeping the temperature well above freezing.

